Archive
Happy Birthday Baby Caitlyn!
On this date last year, I was making breakfast for your dad when i experienced a bout of intense stomach contractions that made me grip the kitchen counter.
“Is this it?”, I thought to myself panicking. I glanced at my unpacked “maternity” luggage a few feet away from the kitchen door. I’m not due until two weeks later.
“Let’s not panic”, I thought to myself. First time mothers usually take up to 15 hours to birth their child, i soothed myself , remembering my doctor’s words.
I finished scrambling my eggs of a breakfast, and fetched my list of “to brings” that the hospital gave me.
I scanned the list. Another wave of panic attack came over me. “Breast pump”, i whispered aloud. I cursed myself repeatedly for stalling in buying one. A vision of my sister who successfully breastfed her kids till they were two years old each came into my mind. ” You need breast pump. It is very, very,VERY important”.
I pushed that out of my mind, I wondered if I could actually purchase breastpump while IN labor. I went into the shower, and spent a good 15 minutes not doing anything. Just standing under the warm running water (Green activists can hate me for wasting water, but please bear with the panic stricken mother-to-be).
The warm water felt comforting. The contractions didn’t reappear. I composed myself. Maybe it’s just a false alarm. I got dressed and got ready for work, vowing to buy breastpumps later that evening.
On the way to work, another wave of strong contractions made me close my eyes and wince in surrender. I dialled the hospital’s number and made an appointment to see the doctor. It was the smartest thing I’ve ever done, because 14 hours later, a slimy screaming baby was pulled out of me.
“Happy Birthday Baby Caitlyn”. May you be blessed with a wealth of health and love.Mommy can’t even begin to describe how much she loves you.
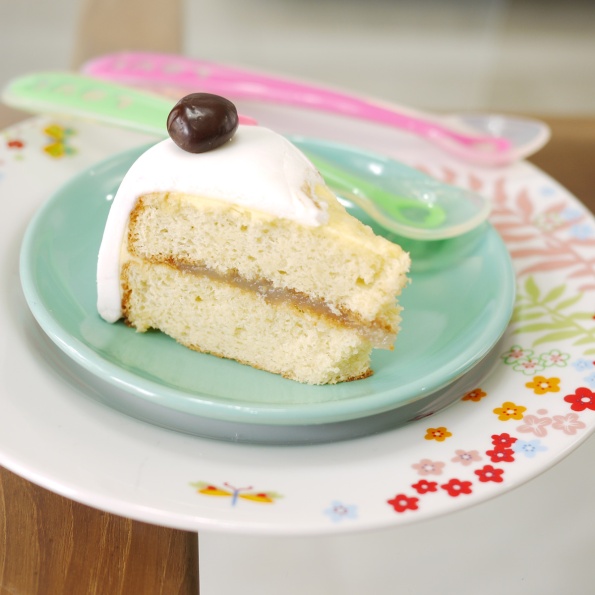
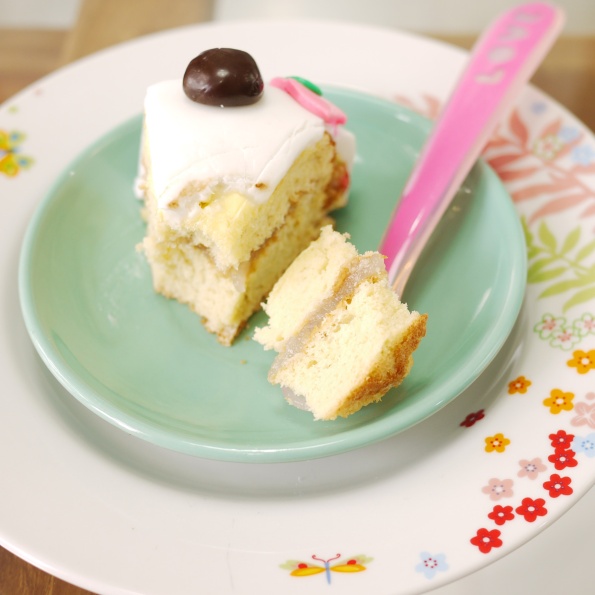
PS: this is a two tiered cake. The first tier is a sugar free cake for Caitlyn, the second layer is just an average sponge cake for adults.
Sugar Free Sponge Cake with Pear Jam:
For a 10 cm cake
1 egg yolk
2 egg whites
35 ml pear concentrate (made by simmering 105 ml of pear juice till it reduced to third)
15 grams olive oil
25 grams AP flour
5 grams cornflour
Boil olive oil with pear concentrate till the mixture steams. Set aside to warm
Add in egg yolk to the olive oil mixture. Slowly stir in the AP and cornflour.
Beat egg whites till soft peaks. Fold into the flour mixture.
Bake at 170 degree till cooked (+-15 minutes )
Slice the cake halfway, spread the sugar free pear jam and sandwich it with the top layer.
Sugar Free Pear Jam
50ml of homemade pear concentrate (made by simmering 150 ml of pear juice till it reduced to a third)
1/2 tsp arrowroot starch, dissolved in a bit of water.
Stir the arrowroot starch into the pear concentrate.
Simmer till thick and bubbly
Set aside to cool
I am entering this post into the Slightly Indulgent Tuesdays, organized by Amy simplysugarandglutenfree. Slightly Indulgent Tuesdays is a very delightful weekly linky which aims at sharing gluten and sugar free recipes. While this recipe is not gluten free, it is still a very healthful sugar free recipe 😉
Another type of cheesecake
This cake…
I don’t even know how to title it.
It has cream cheese in it.
It has white chocolate,
It has butter.
Yet it’s not exactly a cheesecake,
nor is it a buttercake,
and definitely not a blondie.
Oh, and did i mention that it was steamed, not baked?
But if i were to have a go at this cake,
I would say this is a cake between a sponge and a butter cake.
It’s light and soft, yet it’s “bulky”.
It’s sweet, but not sponge-cake sweet.
Its rich, but not buttery cake rich.
Oh well, whatever the case, i think it’s a pretty good cake, considering that it’s steamed.
Which brings me to another point.
Admist rising electrical bills (Having a baby really jacks up your bills!), and a full force electrical oven which drains 2200 watts each time i fire it, I decided that i should steam more often and bake less.
So here it is!
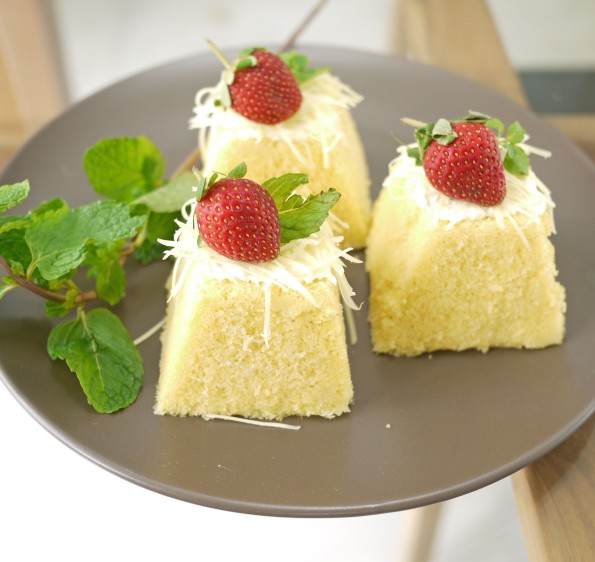
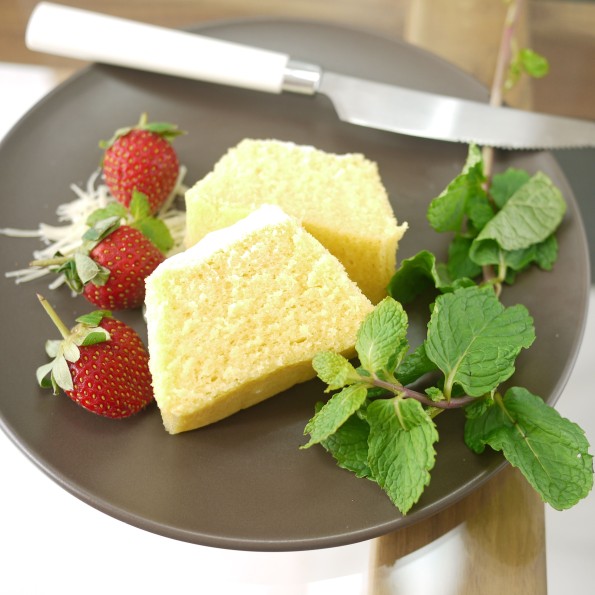
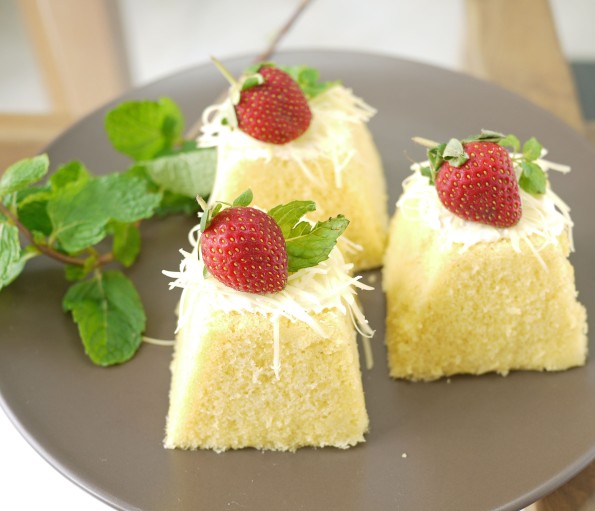
Steamed cheesecake with white chocolate
Taken from Cake Kukus (Sedap)
(Makes 5 cupcake size)
38 grams cream cheese (double boiled till melted)
4 egg yolks
2 egg whites
63 grams sugar
1/8 tsp salt
63 gram AP flour
10 gram milk powder
1/4 tsp baking powder
50 grams butter, melted
38 grams white chocolate (melted with butter)
Beat eggs, sugar and salt till light and fluffy. Add melted cream cheese, mix till well combined.
Fold in flour, milk powder and baking powder
Add melted butter and white chocolate slowly, and fold till evenly mixed
Pour into cupcake tins that have been lined with greased baking paper.
Steam for 30 minutes or till cooked.
Chicken Bacon Sandwich, Homemade Fries, and Strawberry Sponge Cake
As the title says,
Chicken Bacon Sandwich,
Homemade Fries
And Strawberry Spongecake.
That sounded a lot for breakfast doesn’t it?
It seems like i might go overboard with my breakfast menus at times.
I think i might be just a lil bit obsessed.
Nevertheless, obsessed or not, lets get started shall we?
So we were eating out the other night, and ordered one half of a roasted chicken. And though the chicken was not dry, it was pretty bland and lacked flavour. So instead of trying to finish the chicken, we packed it in a doggie bag.
The doggie bag went into the fridge when we got home, and i scoured the internet for ways to somehow salvage the poor chicken.
Of course, it seems like Martha Stewart knows the answer to everything.
She came up with the idea of shredding the chicken and re sautee-ing it in bacon fats. Yes! what better ways to add flavour than add bacon fats!
So i first pan fried the bacon, and using the leftover grease from it, i dumped the shredded chicken in. And for good measure, a pinch of salt, and a dash of pepper. 🙂
As for the fries,
I made this fries from scratch. Like from the real potatotes.
Well, the truth behind these fries is that a new toy i just bought. A mandolin to be exact. The kind that allows you to shred, cut, slice, grate etc, etc..
I was reading the instruction manual and saw the settings for shoestring fries. And what do u know, i do happen to have potatoes in my kitchen! So there it is!
But of course, being a newbie in cooking, i did a lil bit of research before embarking on this french fries-ing.
It seems like the trick to getting your fries to crisp up is to first soak in in cold water to get rid of the starch on the surface, and fry it TWICE.
I found this instruction from the food network website. And i guess it did work, and the browning of the fries was quite even. On the other hand, this method is not totally foolproof as after sometime, the fries did get soggy like all fries would.
And for dessert, it was a sponge cake sandwiching leftover strawberry preserve and with a dollop of pastry cream on the top.
Just another shot for the record,
I am officially full.
Chicken Bacon Sandwich
Adapted from Martha Stewart.com
Ingredients
- 2 slices bacon
- 1/3 cup shredded rotisserie chicken
- coarse salt and ground pepper
- 1 tablespoon mayonnaise
- 1 garlic clove, minced
- 2 slices Batard *
*Note: I dipped the batard in a mixture of eggs and milk and pan fried (french toast style) it to soften
Directions
- In a small skillet, cook bacon over medium until crisp, 10 minutes. With tongs, transfer bacon to paper towels to drain. Add chicken to skillet and stir to coat with drippings. Season with salt and pepper. In a small bowl, mix together mayonnaise and garlic; season with salt and pepper. Spread mayonnaise on batard and layer with chicken, then the bacon. Top with the other slice of batard.
*Note: I didnt exactly bothered with the measuring of the temperature of the hot oil. I went by whatever instincts i had.
Taken from Foodnetwork.com
Ingredients
- 4 large russet or kinnebec potatoes, peeled and cut into 1/4 by 1/4-inch thick batons
- 2 quarts peanut oil
- Salt and pepper
Directions
Rinse cut potatoes in a large bowl with lots of cold running water until water becomes clear. Cover with water by 1-inch and cover with ice. Refrigerate at least 30 minutes and up to 2 days.
In a 5-quart pot or Dutch oven fitted with a candy or deep-frying thermometer, (or in an electric deep fryer), heat oil over medium-low heat until the thermometer registers 325 degrees F. Make sure that you have at least 3 inches of space between the top of the oil and the top of the pan, as fries will bubble up when they are added.
Drain ice water from cut fries and wrap potato pieces in a clean dishcloth or tea towel and thoroughly pat dry. Increase the heat to medium-high and add fries, a handful at a time, to the hot oil. Fry, stirring occasionally, until potatoes are soft and limp and begin to turn a blond color, about 6 to 8 minutes. Using a skimmer or a slotted spoon, carefully remove fries from the oil and set aside to drain on paper towels. Let rest for at least 10 minutes or up to 2 hours.
When ready to serve the French fries, reheat the oil to 350 degrees F. Transfer the blanched potatoes to the hot oil and fry again, stirring frequently, until golden brown and puffed, about 1 minute. Transfer to paper lined platter and sprinkle with salt and pepper, to taste. Serve immediately.
Zebra Cake
Zebra cakes are very much like the more commonly seen swirled cake. In both cases, two toned batters, usually chocolate and vanilla meet, mingle, and became best friends.
The only difference between the zebra and the swirled cake, is in how the two best friends hooked up.
In swirled cakes, the two batters meet spontaneously. They interact carelessly with each other, creating a swirly effect that was haphazard and unpredictable. The resultant effect is no less pretty than the zebra cake, that is of course considering the swirler is not me competent enough for the job.
The pattern in the zebra on the other hand, is more structured. The batters are poured alternately in specific amounts to get that orderly, systematic zebra-ish pattern. The kind of methodical operation that is not exactly in my blood. Geez, my own handwriting is barely legible.
Anyways, back to the cake,
To check for done-ness,
Ah, good ole’ skewer test. Where would we be without it?
Whistling clean, just the way i like it 🙂
You couldn’t imagine how excited i was to slice through this cake. This is one of the incidents where the real thing couldn’t quite compare to the spoof. I dont remember being this excited to see the authentic zebra horse on my first trip to the zoo.
Moment of truth time.
Honestly, i wasn’t very much impressed. This is definitely one of the prettiest zebras in the stable. Too much black, too little white. Too little spacing between the black and white. Plus the swirls are kinda squiggly.
Oh wells, let me claim the customary “A” for the effort at the very least.
So let’s get horsing around!
(Taken from AJ’s Cooking Secrets)
Ingredients
4 large eggs, at room temperature
1 cup (8 oz / 250 g) granulated sugar
1 cup (8 fl oz / 250 ml) milk, at room temperature
1 cup (8 fl oz / 250 ml) oil (corn, vegetable or canola)
2 cups (10 oz / 300 g) all-purpose flour
1/3 teaspoon vanilla powder
1 tablespoon baking powder
2 tablespoons dark cocoa powder
Directions
1. Preheat the oven to 350F (180C).
2. In a large mixing bowl, combine eggs and sugar. Using a hand-held electric mixer or wire whisk beat until the mixture is creamy and light in color
3. Add milk and oil, and continue beating until well blended.
4. In a separate bowl, combine and mix flour, vanilla powder and baking powder. Gradually add the flour mixture to the wet ingredients and beat just until the batter is smooth and the dry ingredients are
thoroughly incorporated. (DO NOT OVERBEAT to prevent air pockets from forming in the batter.
5. Divide the mixture into 2 equal portions. Keep one portion plain. Add cocoa powder into another and mix well.
6. Lightly grease the pan with oil. If you don’t have non-stick baking pan, grease whatever pan you have then line it with parchment paper (baking paper).
7. The most important part is assembling the cake batter in a baking pan. This is what you do. Scoop 3 heaped tablespoons of plain batter (you can also use a ladle that would hold 3 tablespoons) into the middle of the baking pan. Then scoop 3 tablespoons of cocoa batter and pour it in the center on top of the plain batter. IMPORTANT! Do not stop and wait until the previous batter spreads – KEEP GOING! Do not spread the batter or tilt the pan to distribute the mixture. It will spread by itself and fill the pan gradually. Continue alternating the batters until you finish them.
8. Bake in the oven for about 40 minutes. Do not open the oven door at least the first 20 minutes or the cake will shrink and will not rise. To check if the cake is ready, insert a toothpick into the center. It should come out clean when ready. Remove from the oven. Immediately run a small thin knife around the inside of the pan to loosen the cake, then invert the cake onto a cooking rack. Turn the cake back over and let cool. You can sprinkle the top of the cake with some powdered (confectioner’s) sugar or leave it plain.


